Running the Clearswift First Boot Console
Complete the following steps in the First Boot Console:
-
Log in as cs-admin using the default credentials:
- Login: cs-admin
- Password: password
The First Boot Console appears and you can start the configuration process.
-
Follow the on-screen instructions to select:
- Locale Configuration
- Keyboard Configuration
-
Timezone Configuration
The
-
On the Network Configuration page update the following settings:
- System Hostname: Enter the new Hostname and press Save.
- Network Adapters: Select a network adapter and press Edit. Press IPv4 Addresses and then Edit your selected IP address. After you have made your edits, press Save.
-
DNS Servers: Select a DNS entry and press Edit. Add Search Domains if required or leave blank.
After you have made your edits, press Save.
If you are installing the Clearswift
-
Configure your repository settings on the Repository Configuration page.
Clearswift online repositories are normally disabled by default after installation. This indicates updates are to be taken from the local media. However, if you have access to the Internet you might want to receive updates from the Clearswift online repositories by selecting Online Mode.
-
On the cs-admin password page enter a new password for your cs-admin account. The complexity of this password depends on the password policy that is being enforced. The Clearswift password policy applies by default to standard installations from the ISO image. This policy requires you to set passwords that are a minimum of eight characters in length, do not resemble dictionary words (example: Pa55word), do not include sequences (example: 1234), and include at least one from three of the following:
- Uppercase letters
- Lowercase letters
- Digits
- Symbols
See Clearswift password policy requirements in the online help for more information, including examples. The online help also provides information on how to disable the password policy.
-
Apply your settings and confirm to reboot the server.
-
Following the reboot, open a browser and navigate to the
https://<ip-address>/Appliance
To check your IP address, log in to the console using the default credentials.
Select View System Status and click OK.
The
The system might take around 5-10 minutes to apply the settings before you can use
|
If the Clearswift installation media has been ejected following the reboot, you must ensure that it is re-inserted before configuring the Clearswift Installation Wizard. The wizard requires access to the installation media to complete the setup of your |
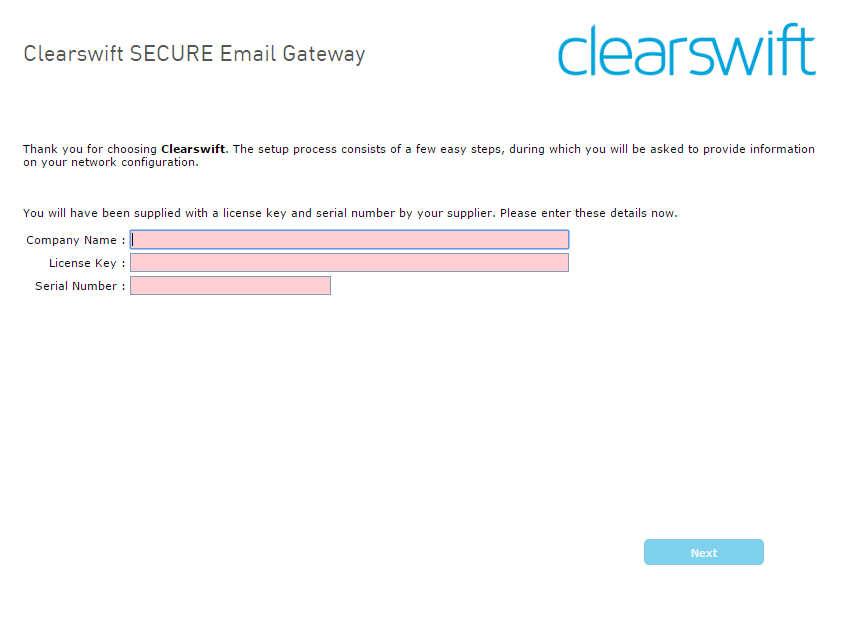
Notes on using the Clearswift SECURE Email Gateway installation wizard
|
The network settings displayed by the wizard reflect the settings you created when configuring Red Hat Enterprise Linux. These settings are displayed as read-only. |
|
|
We recommend configuring the wizard immediately after the install and before configuring any additional network adapters. However, if you need to reboot the machine before configuring the installation wizard, you should disable your firewall as root user when your reboot is complete. To disable your firewall, run the service iptables stop command. After you complete the wizard, the firewall starts again automatically. |
|
Peering between v3 and v4 Clearswift Due to security hardening on v4 Clearswift If you wish to peer v3 If you are already running PMM on a v4 These instructions should be applied after installing the 4.7.0 |
How to re-enable TLS v1.0 on the 4.7.0 Gateway and update ciphers:
-
Search for the sslEnabledProtocols attribute in the following files:
/opt/tomcat/conf/
server-bind.xml
server-bind2.xml
-
Change the value of each protocol from 'TLSv1.2' to 'TLSv1,TLSv1.2'.
There are two instances in server-bind2.xml.
-
Search for the ciphers attribute in the same files:
/opt/tomcat/conf/
server-bind.xml
server-bind2.xml
-
Add 'TLS_RSA_WITH_AES_256_CBC_SHA' to the end of the comma separated list in each file.
There are two instances in server-bind2.xml.
-
Restart the UI using the following command:
cs-servicecontrol restart tomcat
How to update the keystore on a v3 peer Gateway
To generate a certificate and deploy it to the KeyStore for Tomcat to use:
- Assume root role at the command line.
- cd /opt/msw/data/
- mv keystore keystore.orig
-
keytool -genkey -alias tomcat -keyalg RSA -sigalg SHA1withRSA -keystore keystore -storepass changeit --dname "CN=Clearswift,OU=Clearswift,O=Clearswift,L=Reading,S=Berkshire,C=Uk" -validity 3650
Update the certificate attributes (CN, OU, O, etc.) with your own details After entering this command, the system prompts you for the key password for Tomcat. Press RETURN if this is the same as the KeyStore password.
- uiservicecontrol restart tomcat
